PhotobucketPhotobucketPhotobucketPhotobucketPhotobucket
Showing posts with label Art. Show all posts

Monday, September 17, 2012

DIY Fall Hanging Art

So, its officially Fall.
And the only reason I know this to be true is Starbucks released PSL 
{for those not in the know thats a Pumpkin Spice Latte}.
And since I base all change of seasons off Starbucks drink rotations, I decided some fall decorations were in order.

WAAAAY back in the blogging day, Eighteen 25 Girls had blogged this really fun technique for painting with corn syrup.
I had always wanted to try it, so I thought this was a perfect time.
I teamed up with my buddy Kori from Paper & Pigtails to help come up with some
cute fall images to use for this project, they can be downloaded here 
{Feel free to use these for other fall projects, just remember they are for personal use only}

So what you will need:
- Corn syrup
- food coloring
- freezer paper
- printed sheet of images
- black crayon
- paint brushes
- small bowls at least 5
- tape
- scissors
- fishing line or something similar
- a branch


First thing will be to lay your printed images under some freezer paper {shiny wax side down} and tape it in place.  Then with a black crayon trace them out.


Once you have traced as many images as you want, take a tbsp of corn syrup and mix in a few drops of food coloring, I made orange, red, yellow, green, and brown. And start painting.  You want it to be a little thick in the application.  And the cool thing with the crayon is if you get some corn syrup on it, the wax propels it and it will disappears off it.

                            
These will take at least 24 hrs to dry.  

Once they are dry cut them out. Then I took a tiny hole punch to each one and strung up a branch above our table {I have a little hook up there all the time for hanging things} And then started hanging the pieces.  The owls I decided to add to the branch as though they are perched...


I love how it turned out!  
Another option would to be make a garland to hang around the windows to still get the stained glass affect they give.

ENJOY!


Thursday, June 21, 2012

Brave Pancake Art

I have been dabbling in pancake art for a while now.
Nothing fancy, just things I know my kiddlets will love.
Whenever I share my photos of my creations on facebook, twitter, and/or Instagram, I always get the same questions.
And numero uno is "How did you do that?"
Yesterday I made Merida pancakes to celebrate our excitement for a new kick booty princess.
Here is how:

Tips:
- I always use boxed pancake mix, it works best. You will not want any lumps since it will clog your squeeze bottles.
- It is ALL about temp control with your stove top, low and slow wins the race.
- REMEMBER its just pancakes and its easy enough to toss a mistake.
- Have fun, and know if your creation is not exactly how you pictured it, your kid will love that you made it extra special, {even when you think your Merida, see above, is on the verge of drag queen.}

What you will need:
- pancake mix
- food coloring
- small bowls
- squeeze bottles for each color you are using
- butter

And I apologize in advance for the lighting in my photos...


When I mix the pancake mix I always put less water in then the box calls for, just to make sure it is not too runny.  You can always add more but never take away. But here is the consistency you want.


Divide the mix up and add the food coloring.
For Meridas hair I used 4 drops of red and 3 yellow.


Most of the time I just make things up, but for Merida I needed a point of reference. A quick google search help with that. Oh and just another reason to love my Life Proof case, no worries using it in the kitchen :)


First things first, heat your pan up.
I have my stove on lock down with temps. 
For pancakes I use low medium.
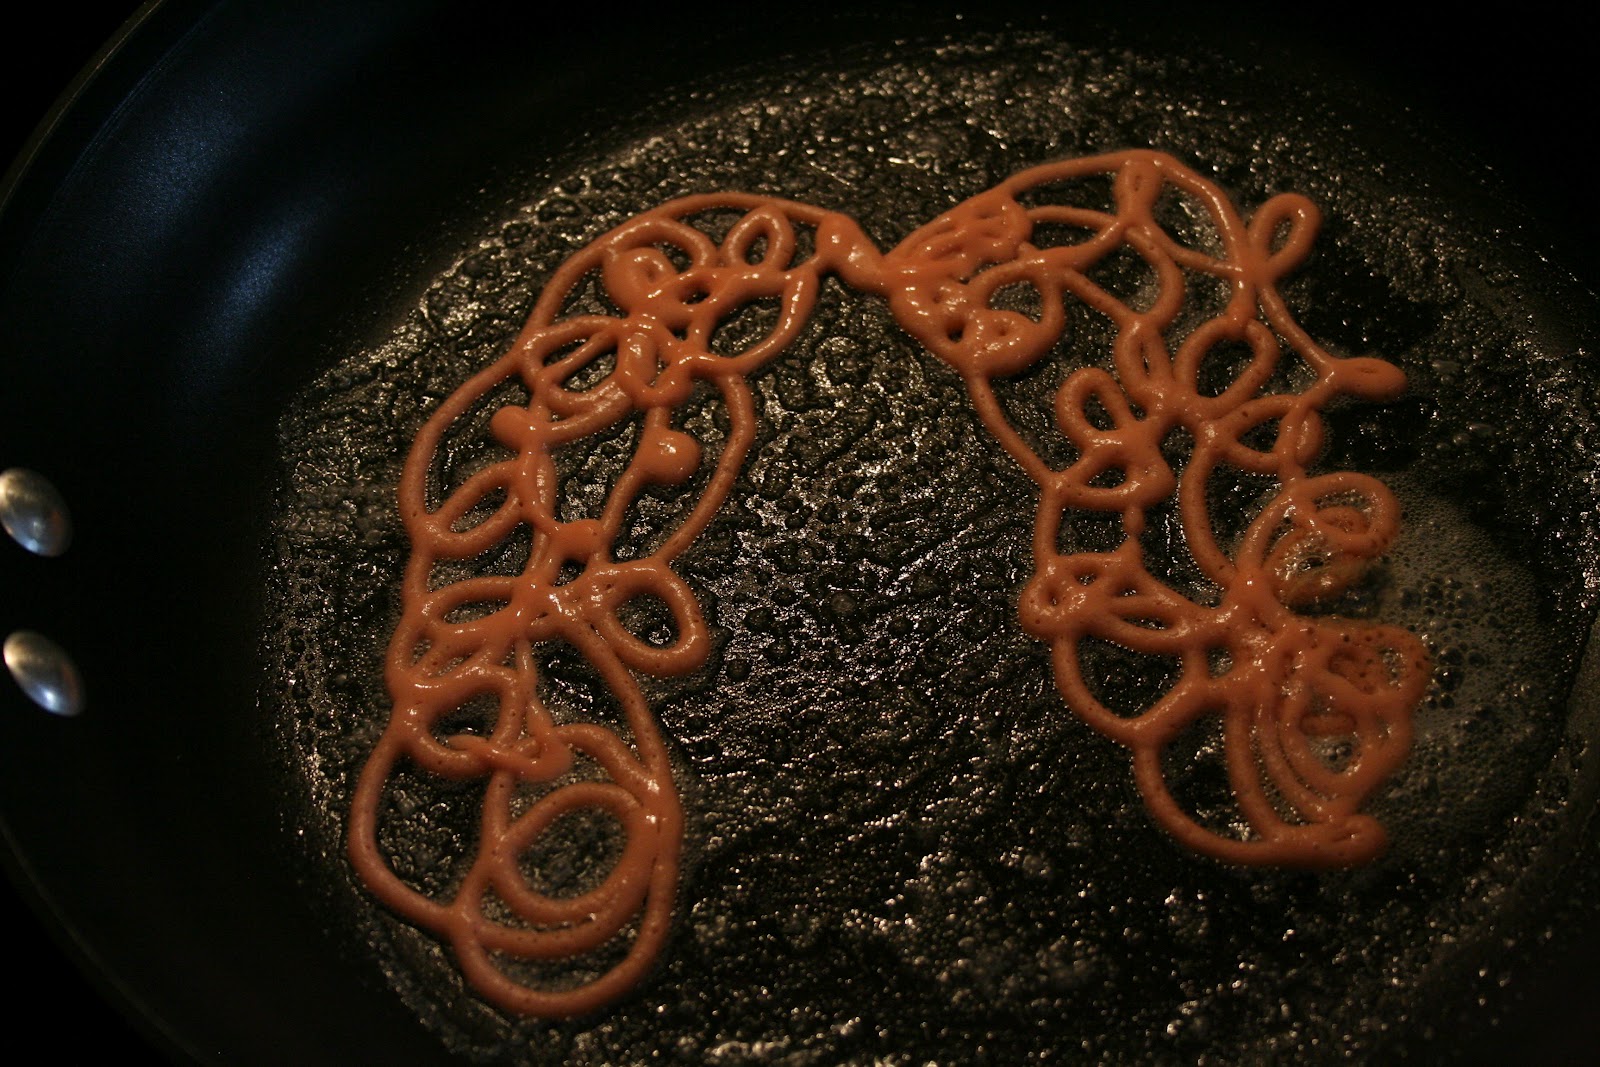
After melting some butter, take the orange squeeze bottle and shape out her hair.
Another tip - remember that the side that will be facing down is the side that you will use to display, SO keep that in mind with making your creations.  So letters need to be backwards and such.


Then you will draw out her face with the plain batter.


Add her face.


Lastly go back and fill in the hair and face. Once it have bubbled flip and cook the other side.
Then plate.


For the arrows, I made upside down hearts.


Fill them in and add the stick part and feathers.


Another tip I have is if something breaks, no worries.  Keep cooking it, and just put it back together when you plate it!

Here are a few other recent creations.
Oh and another tip, once you start doing this for your kids BE READY for the requests to roll in.
And when your husband asks for the Sistine Chapel, make sure to have a dish towel on hand for a "playful" swat.


Feel free to leave any questions. Just make sure I have a way of responding!


Tuesday, September 27, 2011

Guest Interview w/ Pencils and Daisies {plus a little discount code!}


As some of you might have figured out from reading my blog I am a little wishie washie about things. So when it came down to me picking a new look for my blog I was ALL OVER THE PLACE.
Then I had an idea, to see if Amanda from Pencils and Daisies could do portraits of the kiddies for my banner. You see Amanda draws, then watercolors portraits, and can digitally scan them for you to use online. AH-MAZING.
I just got the originals in the mail last week and they are hanging at my desk so I can stare at them...


So today we get to know Amanda a little more...

- Tell us a little bit about yourself and Pencils and Daisies:
Hello! I'm Amanda - owner and operator (that sounds so official!) of Pencils & Daisies. Growing up in small town Illinois, I migrated to Arizona when I was 14 and lovingly called it home for ten years. I suppose I've always been a Midwestern girl at heart, because I somehow made my way back here and currently reside in Chicago with my husband and our two animals.

My shop name comes from a Shel Silverstein poem "If the World Was Crazy" (Where the Sidewalk Ends); the whimsical nature of the poem matches my outlook on creating and the world in general. If you can't take things lightly and have a good laugh every day, then you're doing something wrong! Having my own shop has been something I've been dreaming up for awhile now...and when I was presented the opportunity to spend my days creating - I grabbed it! There you'll find custom illustrations and a few vintage items...but currently I'm working on a big plan to expand Pencils & Daisies, so look for changes at the beginning of the new year!

{Also, my photo is totally silly but I'm sort of obsessed with mustaches (I may even have a tattoo of one...shh!) and have way too many Polaroids. This combines both of those loves. <3}

Describe a typical day in Amandaland {ha that has a nice ring to it!}
My days are a strange mix of what we'll call day job, dream job, and real life (errands, etc). I wake up early to hang out with (other peoples!) kiddos before dropping them off at their classrooms and heading to part two of my day. Part two of my day is filled with dream job (illustrating! sewing! etsy! all around craftiness!) and real life (errands! dishes! swiffer-ing!). Once two o'clock rolls around, you'll find me back at Helen C. Peirce Elementary to hang out with the same little kiddos until their parents pick them up at six. Then I'm back home to eat, relax with the mister, and work a little more on dream job...or just watch a lot of tv. ;)

Are you always drawing or doodling?
YES. For as long as I can remember, that's all I've been doing. I've stopped carrying a sketchbook, because it doesn't get any use, but I doodle on everything else that's around. I tend to discard sketchbooks soon after I start them...I'm more of a "get an idea, get it going" type of person. I can't really have a sketchbook of ideas lying around, because they'll never get done! I love to find that great idea, and start on the actual piece right away...somehow it just works better for me that way - to get it all out when the inspiration hits instead of saving it for later between closed pages.

What drives your creativity?
Situations that are unexpected, whimsical, hilarious, or just plain ridiculous are the ones that drive my creativity the most. As I mentioned before, I think it's important to not take yourself, or situations, too seriously. When I was in school, my professors drove home the "art must have meaning" message...which personally, I never bought into. I can respect that, but I think you can also make something beautiful or appealing without having a deep meaning behind it. Being around those that are able to accept or mirror this lightheartedness are the most inspiring to me; sometimes the simplest (or silliest) of conversations with friends or family have sparked the creative flame most of all. Inspiration is usually out there and offered in ways you would least expect...and that surprise is what makes it amazingly fun.

What is your BIGGEST guilty pleasure?
Oh, definitely the amount of TV that I watch...I should probably work on getting Pencils & Daisies situated rather than watching twelve episodes of Daria every day. ;)

Where do you want to see your and your shop in a year?
In a year, I hope to see Pencils & Daisies become my only job (don't get me wrong...I love working with kiddos, but I love drawing more!). It's been a dream of mine for a long while to be able to work from home on what I love most. I'm in the process of really getting my long term business plan down, and hopefully I can keep the current momentum and inspiration going to make it a reality!

Amanda wants to offer Buggie and Jellybean readers a discount code, perfect for right before the holidays. I mean come on what Grandparent would not love a portrait of the grandbabies for the holidays?!
I'd like to offer a 15% off coupon code for Pencils & Daisies for the month of October to all Buggie & Jellybean readers! Just enter code "BUGGIEANDJELLYBEAN" at check out to receive 15% off your order (not including shipping, sorry!) for the whole month of October.

You can found me at:

Thanks Amanda for the interview, the discount code, and most of all making my dream come true with my blog!! YOU ROCK.
------------
Do not forget to enter for your chance to win a knit scarf of your choice in color, here.

Monday, September 19, 2011

Pinterest Project Party {Witch Art and Glow Stick Surprise}


When I saw this project on Pinterest, I honestly could not stop thinking of all the
holidays I could do it for.
And Halloween was first up on the list.

{Santa came from my Christmas board.}

First Hubs went to Lowes for me and a board cut to 3 x 3 feet. And after a quick date with the spray can I had my work surface.


I found the center and then laid painters tape down. Then using the tape I made a grid, and traced the tape.


I placed a small nail in the center.


And using a piece of string, made a circle around the board.

I made the grid on my image and then drew it out on my board.

Once it was all drawn out, I started painting. This part makes me happy, I love to paint.


And here she is all ready for October. I did add a little glow in the dark paint to the windows on the houses...


Oh and one other easy but super fun project we did was one from my Must Make board.


The best part is Target has 2 for a $1 in their $ bins!!! The kids LOVED it and asked if we can do it again soon....

Happy pinning and making!

Monday, May 3, 2010

Lazy Susan Art Caddy Tutorial

If your house is anything like mine, art supplies are always out and most likely all over the table.
So instead on spending $50 on this art caddy {which is super small for all our stuff}, I spent under $15 making my own {which is MUCH bigger}.

What you will need:
- Lazy Susan {Mine came from Ikea for $7.99}
- Metal buckets. 5 in total {again mine came from Ikea .99 each, same buckets from Buggies party}
- 2 sheets of foam
- Scissors
- Hot glue
- Pen

1. First things first. Place all you buckets on the lazy susan in the spots you are going to want them.
2. Then trace the bottom of the bucket on the foam sheet.

3. Cut the circle out, then take the outer portion and fold in half.

4. Cut around the outer portion to create a circular ring.


5. Glue the ring to the board.
{Repeat steps 2-5 for all buckets}

6. Fill your buckets up


Now when you spin your lazy susan, your buckets will stay put! And you can still remove them from the board!

Hope you enjoy!