


I have been dabbling in pancake art for a while now.
Nothing fancy, just things I know my kiddlets will love.
Whenever I share my photos of my creations on facebook, twitter, and/or Instagram, I always get the same questions.
And numero uno is "How did you do that?"
Yesterday I made Merida pancakes to celebrate our excitement for a new kick booty princess.
Here is how:
Tips:
- I always use boxed pancake mix, it works best. You will not want any lumps since it will clog your squeeze bottles.
- It is ALL about temp control with your stove top, low and slow wins the race.
- REMEMBER its just pancakes and its easy enough to toss a mistake.
- Have fun, and know if your creation is not exactly how you pictured it, your kid will love that you made it extra special, {even when you think your Merida, see above, is on the verge of drag queen.}
What you will need:
- pancake mix
- food coloring
- small bowls
- squeeze bottles for each color you are using
- butter
And I apologize in advance for the lighting in my photos...

When I mix the pancake mix I always put less water in then the box calls for, just to make sure it is not too runny. You can always add more but never take away. But here is the consistency you want.

Divide the mix up and add the food coloring.
For Meridas hair I used 4 drops of red and 3 yellow.

Most of the time I just make things up, but for Merida I needed a point of reference. A quick google search help with that. Oh and just another reason to love my Life Proof case, no worries using it in the kitchen :)

First things first, heat your pan up.
I have my stove on lock down with temps.
For pancakes I use low medium.
After melting some butter, take the orange squeeze bottle and shape out her hair.
Another tip - remember that the side that will be facing down is the side that you will use to display, SO keep that in mind with making your creations. So letters need to be backwards and such.
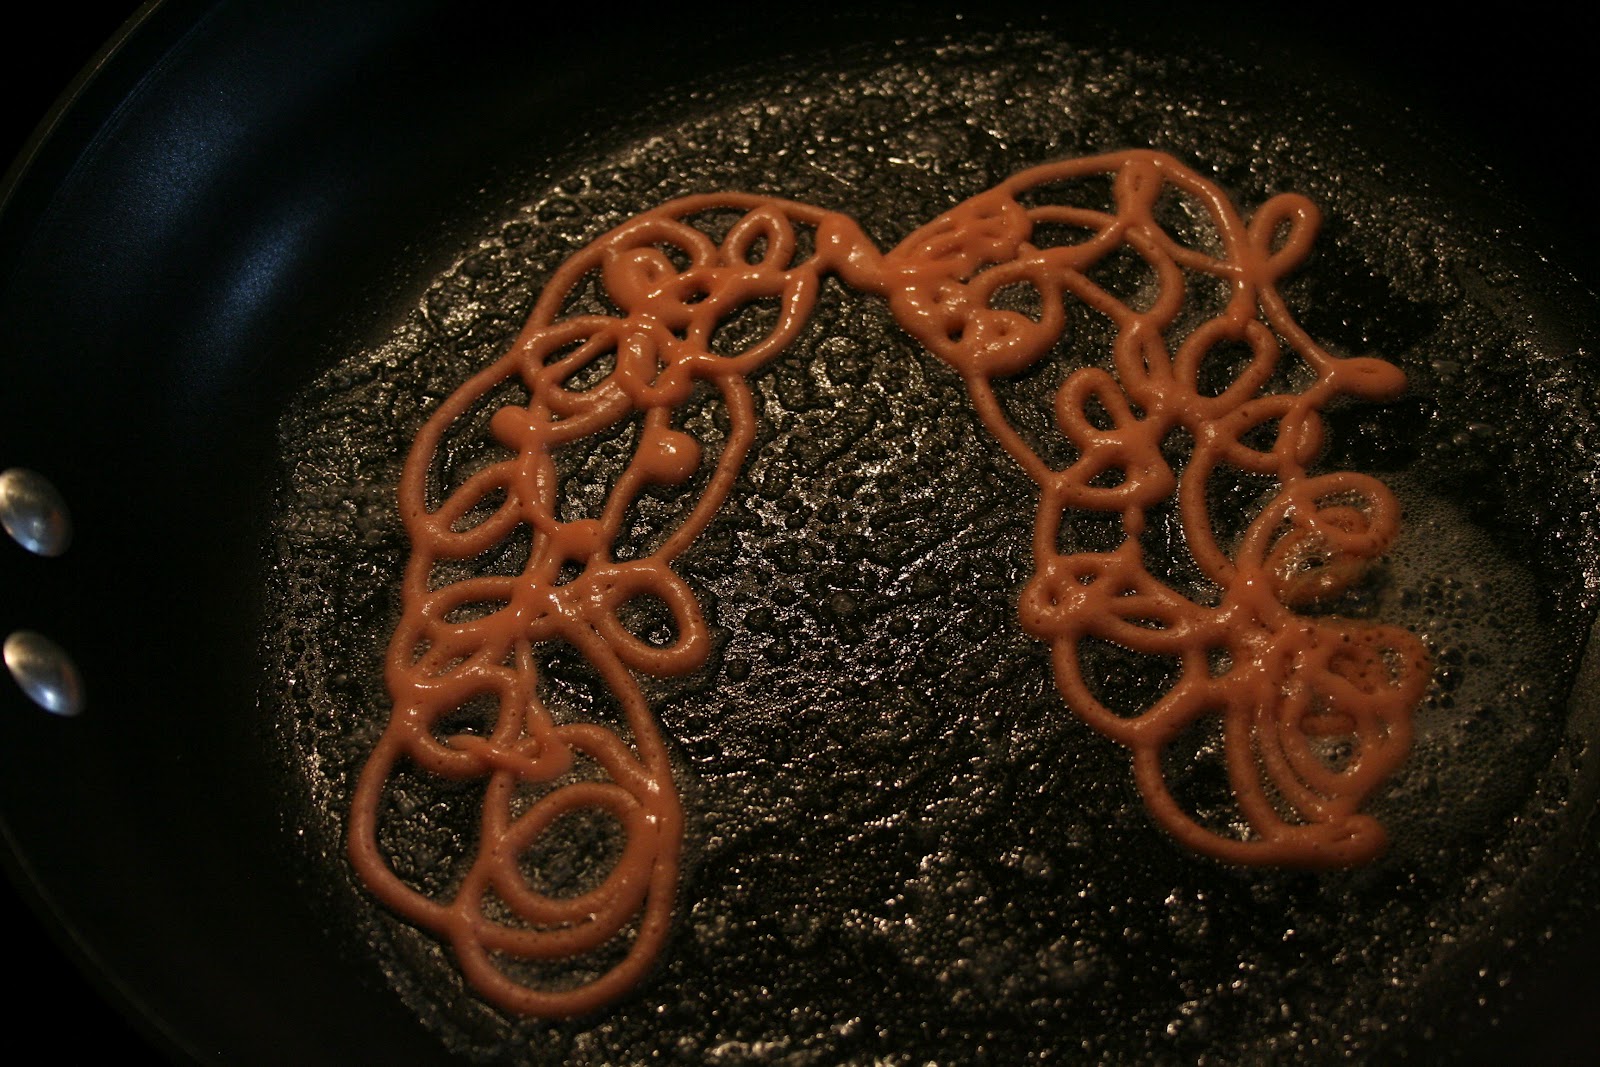
Then you will draw out her face with the plain batter.

Add her face.

Lastly go back and fill in the hair and face. Once it have bubbled flip and cook the other side.
Then plate.

For the arrows, I made upside down hearts.

Fill them in and add the stick part and feathers.


Another tip I have is if something breaks, no worries. Keep cooking it, and just put it back together when you plate it!
Here are a few other recent creations.
Oh and another tip, once you start doing this for your kids BE READY for the requests to roll in.
And when your husband asks for the Sistine Chapel, make sure to have a dish towel on hand for a "playful" swat.


Feel free to leave any questions. Just make sure I have a way of responding!


