


Over this summer our Fun List had "Room Re-dos" on it.
Well that project extended a little past summer and into this new school year. But all good things come with time.
Today I wanted share Nolan's new room.
We hadn't done much since his room was originally done as a baby, other then get him a big boy bed.

We wanted a room for him to grow with.
The feel more of a little mans room.
So we got things that reflected his interest but made for a cozy place for him.
{vintage flag from a local shop, Thor Hammer night light from Target, quilt and buffalo plaid bin from Land of Nod}

We had a lot of pieces from the Ikeas Trofast collection from the playroom. We are planning on a redo in there as well, so instead of selling it all I decided to update it, see below for more details.
Our walls are EXTREMELY textured, almost like an outside stucco.
So wall paper is out of the question but we still wanted a focal point on this wall.
I used Urban Wall Decals to create this strip of Batman Masks.

We wanted to bring in original artwork that shows Nolan's most favorite things. This wall is a work in progress but I love it. And the pennants from my husbands childhood adds just the right amount of vintage charm to this wall.

I love kids to have a space to sit other then the floor or bed in their rooms.
We snagged this chair from Target, its the most perfect size.
Yellow bin also from Target and the AMAZING Biggie pillow from Passive Juice Motel.

My favorite thing in his room has to be his new Lego table.
Its the perfect thing for my Lego obsessed little dude.
More info below on this project.


I love the little details his room holds.
But most of all I love that when I can not find him I know exactly where he is, using his imagination in his room.
_______________________________
DIY Lego table.
Like I said above we already had the Trofast collection.
I took one of the pieces and painted it using Milk Paint from Nook and Cranny.
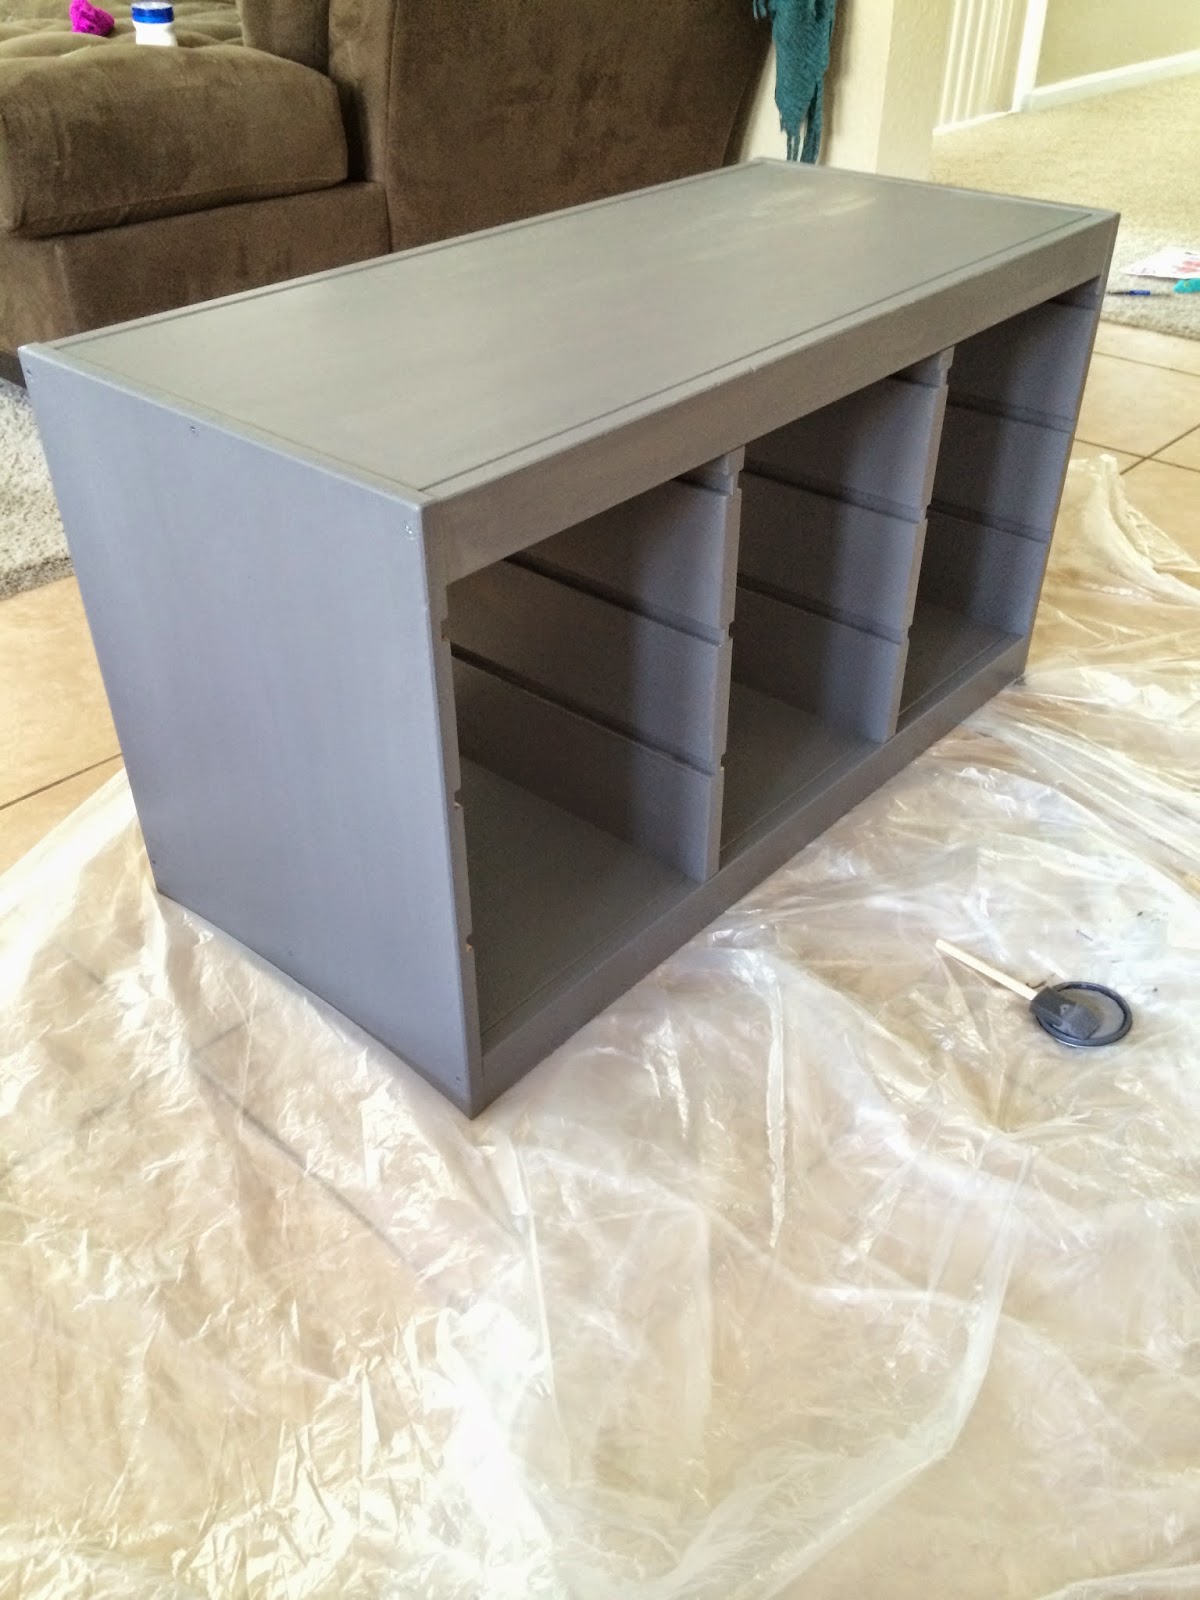
I was able to paint both this piece and the smaller shelf with one pint, milk paint is that amazing.
After it was completely dry I applied some bees wax just to cure the paint since the piece was going to get a lot of use.

For the lego top, I used two large gray lego mats for each side and cut down one blue mat to create the center strip. Cutting lego mats is easy peasy, create a line with some brick legos take an exacto knife and cut along edge. Then snap off.
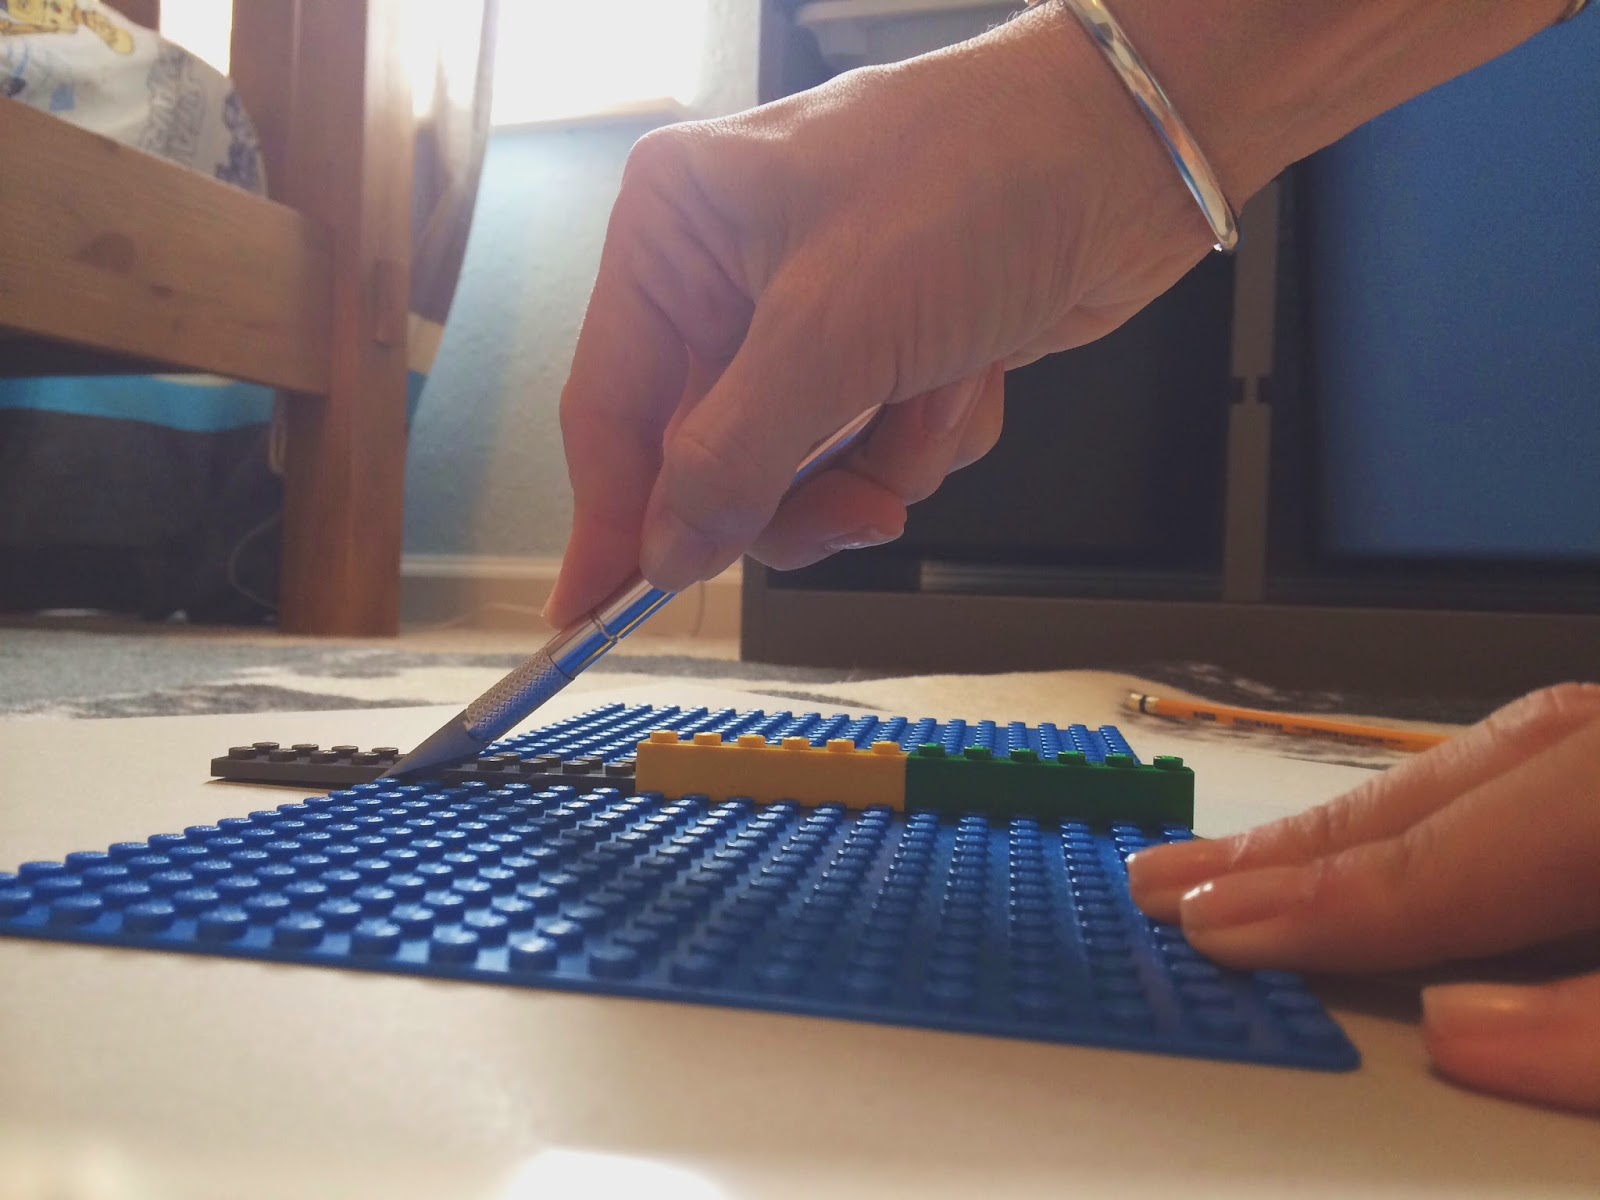
Lastly, I used gorilla glue and weighted them down.

I can not even begin to tell you how much time he spends at this table.
He wakes up and goes right to it and at night he setups his favorite guys of the day on the edge to "watch over him" when he sleeps.


I hope you enjoy a glimpse into Nolan's new world.
XO


